Tri-Tip Two Ways- Delicious Grilled & Smoked Recipes
Tri Tip, oh Tri Tip! If you’re a meat lover, this cut of beef probably already holds a special place in your heart. It’s a true grilling gem, renowned for its incredible tenderness and rich, beefy flavor that just sings with every bite. What makes the Tri Tip so beloved? It’s the perfect trifecta: a wonderfully marbled texture that stays moist even when cooked to a perfect medium-rare, a delightfully satisfying chew, and a flavor profile that pairs beautifully with everything from simple salt and pepper to more adventurous marinades. And the best part? This versatile cut is incredibly forgiving, making it a fantastic choice for both seasoned grill masters and kitchen novices alike. Today, we’re going to explore the magic of Tri Tip by showing you two delicious ways to prepare it, ensuring you’ll have a new go-to recipe in your repertoire. Get ready to elevate your next barbecue or weeknight dinner!

Tri Tip (2 Ways)
The tri-tip roast, a gem from the bottom sirloin of the cow, offers incredible flavor and tenderness, especially when treated with care. It’s a versatile cut that can shine with different cooking methods, and today, I’m going to show you two of my absolute favorite ways to prepare it: a classic grilled tri-tip and a perfectly pan-seared and oven-finished tri-tip. Both methods highlight the rich, beefy taste of this cut, creating a delicious centerpiece for any meal. Whether you’re a seasoned griller or prefer the controlled environment of your kitchen, you’ll find a method here that you’ll love.
The beauty of tri-tip lies in its marbling. This intramuscular fat renders during cooking, basting the meat from within and contributing to its succulent texture. It’s also relatively lean compared to some other roasts, which means it benefits from a good rub and precise cooking to prevent it from drying out. The two methods I’ll be sharing aim to achieve a beautiful crust on the outside while keeping the inside tender and juicy, with the ideal temperature being a perfect medium-rare.
Let’s dive into the ingredients you’ll need. The foundation of great tri-tip is a good seasoning blend. This recipe uses a simple yet highly effective rub that complements the beef without overpowering it.
Ingredients:
Method 1: The Grilled Tri-Tip
Grilling tri-tip is a classic for a reason. The high heat sears the exterior beautifully, creating a delicious crust, while the smoke adds an extra layer of flavor. This method is fantastic for a backyard gathering or a sunny afternoon cookout.
Step 1: Prepare the Roast and Rub
First things first, we need to get our tri-tip ready. Pat the roast completely dry with paper towels. This is a crucial step for achieving a good sear, as moisture on the surface will steam the meat rather than brown it. In a small bowl, combine all the dry seasonings: garlic salt, Lawry’s seasoning salt, kosher salt, black pepper, sugar, and garlic powder. Mix these together thoroughly. Then, drizzle the olive oil all over the tri-tip, ensuring it’s evenly coated. Now, generously apply the dry rub, making sure to get it on all sides of the roast. Gently press the rub into the meat to help it adhere.
Step 2: Set Up Your Grill for Two-Zone Cooking
For the best grilling results, we’re going to use a two-zone cooking method. This means creating a hot zone and a cooler zone on your grill. If you’re using a charcoal grill, pile the coals to one side. If you’re using a gas grill, turn all the burners on high on one side and leave the other side off or on very low. This allows us to sear the tri-tip over direct heat and then move it to indirect heat to finish cooking gently.
Step 3: Sear and Grill to Perfection
Preheat your grill to high heat (around 450-500°F). Once hot, place the seasoned tri-tip on the hot side of the grill. Sear it for about 3-4 minutes per side, until a beautiful, dark crust has formed. Don’t be tempted to move it around too much during this searing phase; let that crust develop! After searing, move the tri-tip to the cooler side of the grill, close the lid, and let it cook until it reaches your desired internal temperature. For a perfect medium-rare, aim for an internal temperature of 130-135°F. Use a reliable meat thermometer to check. This indirect cooking phase will take approximately 20-30 minutes, depending on the thickness of your roast and your grill’s temperature.
Step 4: Rest and Slice
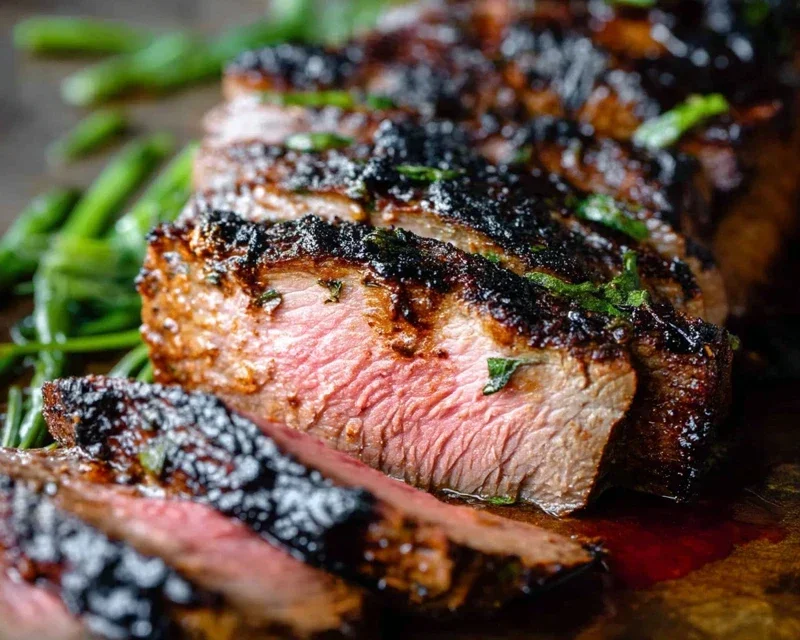
Once the tri-tip reaches your target temperature, remove it from the grill and place it on a clean cutting board. Tent it loosely with foil and let it rest for at least 10-15 minutes. This resting period is non-negotiable! It allows the juices to redistribute throughout the meat, resulting in a much more tender and flavorful roast. Cutting into it too soon will cause all those delicious juices to run out onto the board. After resting, slice the tri-tip against the grain. You’ll notice the grain runs in different directions on a tri-tip, so pay attention to slice it properly for maximum tenderness.
Method 2: Pan-Seared and Oven-Finished Tri-Tip
This method is a fantastic alternative when grilling isn’t an option or when you want the ease of oven-finishing with a beautiful sear. It delivers a wonderfully browned crust and a tender, juicy interior.
Step 1: Prepare the Roast and Preheat the Oven
Begin extract by patting the tri-tip roast dry with paper towels, just as you did for the grilled version. This ensures a good sear. In a small bowl, combine all the dry seasonings: garlic salt, Lawry’s seasoning salt, kosher salt, black pepper, sugar, and garlic powder. Mix well. Coat the tri-tip evenly with olive oil, then generously apply the dry rub, pressing it into the meat. Preheat your oven to 400°F (200°C).
Step 2: Sear in a Hot Pan
Choose an oven-safe skillet, preferably cast iron, that’s large enough to hold the tri-tip. Heat the skillet over medium-high heat on your stovetop. You don’t need to add extra oil to the pan if you’ve coated the roast sufficiently with olive oil. Once the pan is hot, carefully place the seasoned tri-tip in the skillet. Sear for about 3-4 minutes per side until a deep brown crust forms. Don’t overcrowd the pan, and avoid moving the roast too much while it sears to achieve a good crust.
Step 3: Finish in the Oven
Once both sides of the tri-tip are beautifully seared, transfer the skillet (or the roast if your skillet isn’t oven-safe) to the preheated oven. Cook in the oven for approximately 15-25 minutes, or until the internal temperature reaches your desired level. Again, for medium-rare, aim for 130-135°F. Use a meat thermometer to check the temperature in the thickest part of the roast. The exact cooking time will vary depending on the thickness of your tri-tip and your oven’s calibration.
Step 4: Rest, Incorporate Parsley, and Slice
Remove the tri-tip from the oven and transfer it to a cutting board. Tent it loosely with foil and let it rest for 10-15 minutes. This resting period is essential for juicy meat. While the roast is resting, you can add the fresh or dried parsley. If using dried, you can sprinkle it over the roast during the last few minutes of oven cooking or after resting. If using fresh, you can chop it finely and toss it with a tiny bit of olive oil and sprinkle it over the roast after it has rested and before slicing, adding a burst of fresh flavor and color. After resting, identify the direction of the grain and slice the tri-tip thinly against it.
Both of these methods will yield a delicious tri-tip roast. The grilled version offers that smoky char, while the pan-seared and oven-finished method provides a fantastic crust with the convenience of oven cooking. Whichever you choose, you’re in for a treat! Don’t forget to sprinkle with that fresh parsley at the end for a beautiful finish. Enjoy!
Conclusion:
So there you have it – two fantastic ways to prepare a delicious tri-tip that are sure to impress! Whether you opt for the classic grilled method, with its smoky char and juicy interior, or the oven-roasted approach for a consistently tender result, this recipe is a winner for its simplicity and incredible flavor. The tri-tip truly shines with either preparation, offering a robust beefy taste that pairs wonderfully with a variety of sides. Don’t hesitate to experiment with different marinades and spice rubs to make it your own. I highly encourage you to give these methods a try – you won’t be disappointed with the mouthwatering results!
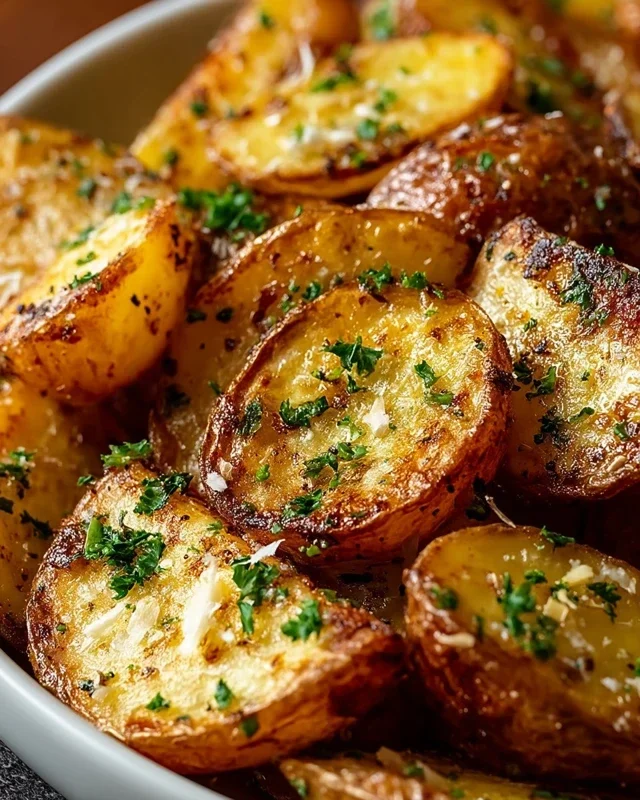
For serving, consider classic steakhouse sides like garlic mashed potatoes, roasted asparagus, or a fresh, vibrant salad. This versatile cut also makes for amazing sandwiches or can be sliced thinly for tacos. Feel free to adjust cooking times based on your preferred level of doneness. Now, let’s address a couple of common questions:
Frequently Asked Questions:
What is the best way to ensure my tri-tip is tender?
The key to a tender tri-tip is to avoid overcooking it. Using a meat thermometer is your best friend here! For medium-rare, aim for an internal temperature of around 130-135°F (54-57°C). Always let your tri-tip rest for at least 10-15 minutes after cooking; this allows the juices to redistribute throughout the meat, resulting in a more succulent bite.
Can I marinate the tri-tip overnight?
Absolutely! Marinating overnight can further enhance the flavor and tenderness of your tri-tip. Just ensure your marinade has an acidic component, like citrus juice or vinegar, to help break down the muscle fibers. However, don’t marinate for too long with strong acidic marinades (more than 24 hours) as it can start to make the meat mushy.
Tri Tip (2 Ways)
A versatile tri tip roast prepared two distinct ways for maximum flavor and enjoyment. This recipe offers a foundational seasoning for both methods, with variations for different flavor profiles.
Ingredients
-
2 & 1/2 pound tri tip roast
-
1 & 1/2 teaspoons garlic salt
-
1 tablespoon Lawry’s seasoning salt
-
1 & 1/2 teaspoons kosher salt (Diamond Crystal)
-
1 teaspoon black pepper
-
1/2 teaspoon sugar
-
2 teaspoons garlic powder
-
1 tablespoon dried or fresh parsley
-
1/4 cup olive oil
Instructions
-
Step 1
Prepare the tri tip by trimming any excess silver skin. Pat the roast dry with paper towels. -
Step 2
In a small bowl, combine the garlic salt, Lawry’s seasoning salt, kosher salt, black pepper, sugar, garlic powder, and parsley. Mix well. -
Step 3
Rub the tri tip all over with the prepared seasoning blend. Let it sit at room temperature for about 30 minutes. -
Step 4
For Way 1 (Grilling): Preheat your grill to medium-high heat. Sear the tri tip for 3-4 minutes per side until a good crust forms. Reduce heat to medium-low and continue cooking for about 30-40 minutes, turning occasionally, until an internal temperature of 130-135°F (medium-rare) is reached. Allow to rest for 10-15 minutes before slicing. -
Step 5
For Way 2 (Oven Roasting): Preheat your oven to 400°F (200°C). Heat the olive oil in an oven-safe skillet over high heat. Sear the tri tip on all sides until browned. Transfer the skillet to the preheated oven and roast for 45-55 minutes, or until an internal temperature of 130-135°F (medium-rare) is reached. Let it rest for 10-15 minutes before slicing. -
Step 6
Slice the tri tip against the grain for optimal tenderness. Serve immediately.
Important Information
Nutrition Facts (Per Serving)
It is important to consider this information as approximate and not to use it as definitive health advice.
Allergy Information
Please check ingredients for potential allergens and consult a health professional if in doubt.