itsxSil’s Shuffles-Deliciously Easy Recipe
Check out itsxSil’s Shuffles ♡, a truly delightful and unexpectedly simple treat that has taken the culinary world by storm! If you’ve been searching for that perfect dessert that’s both incredibly satisfying and remarkably easy to whip up, then your search ends here. People absolutely adore itsxSil’s Shuffles ♡ for a multitude of reasons. It’s the ultimate comfort food, delivering a burst of deliciousness with every spoonful, and its adaptable nature means you can tailor it to your personal taste. What truly makes itxSil’s Shuffles ♡ so special is its magical ability to transform humble ingredients into something extraordinary. It’s a recipe that proves you don’t need to be a gourmet chef to create something truly memorable. Get ready to impress yourself and everyone around you with this sensational creation!
Ingredients:
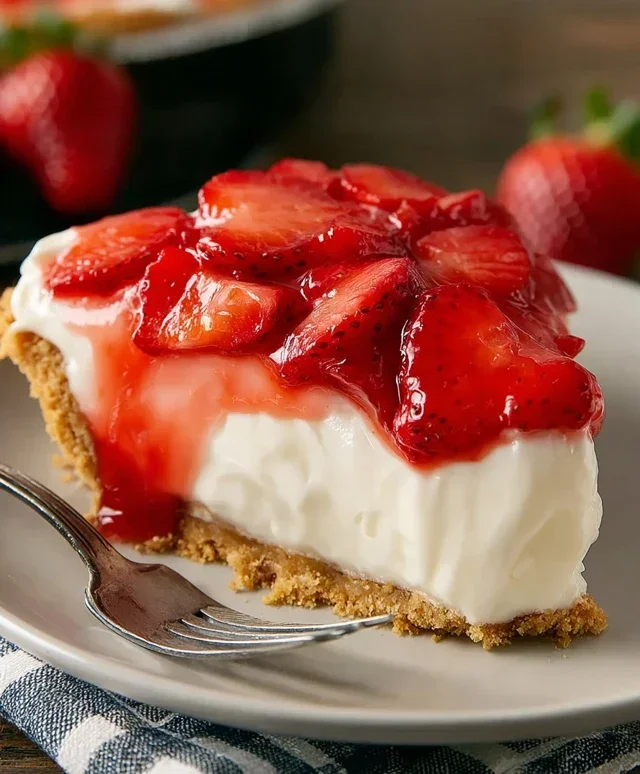
Hello, fellow food lovers! Today, I’m absolutely thrilled to share a recipe that’s close to my heart and has become a summer staple in my kitchen: itsxSil’s Shuffles. This isn’t just a dessert; it’s a vibrant, refreshing celebration of simple, pure flavors that screams sunshine and happiness. Imagin extracte biting into a chilled, sweet-tart concoction that melts in your mouth, leaving a lingering taste of ripe berries. It’s incredibly easy to make, requiring minimal effort for maximum deliciousness. Perfect for a light after-dinner treat, a delightful afternoon pick-me-up, or even a fancy yet unfussy dessert to impress guests. The beauty of this recipe lies in its simplicity; it highlights the natural sweetness and essence of fresh strawberries, elevated just a touch. So, let’s get started and create some magic!
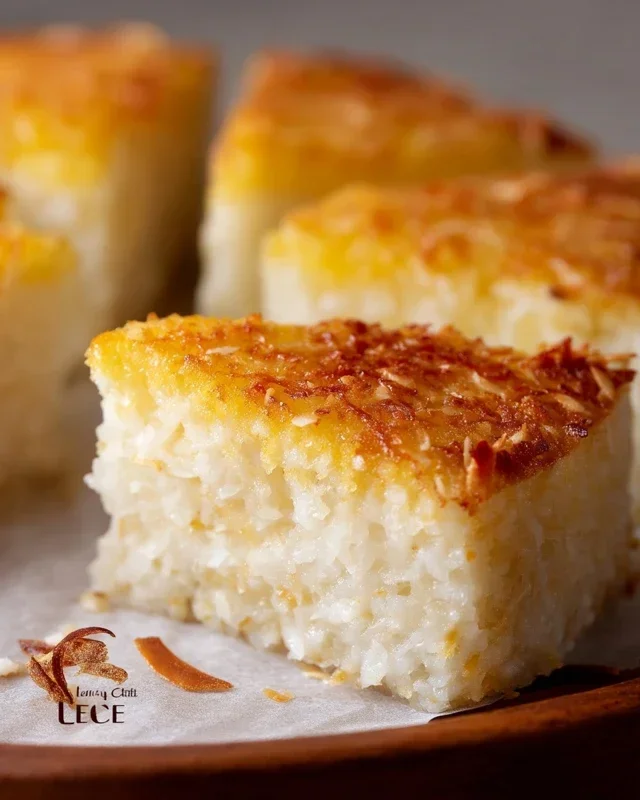
Strawberry Shuffles: A Symphony of Summer Flavors
These strawberry shuffles are a wonderful way to use up a bounty of fresh, ripe strawberries. They offer a refreshing alternative to heavier desserts and are incredibly versatile. You can adjust the sweetness and tartness to your personal preference, making each batch uniquely yours. The texture is something special – a delicate balance between a smooth sorbet and a light, airy mousse. I often find myself making a double batch because they disappear so quickly!
Preparing the Star Ingredient: The Strawberries
The foundation of any great strawberry dessert is, of course, the strawberries themselves. For this recipe, I highly recommend using the freshest, ripest strawberries you can find. They should be plump, deeply red, and fragrant. If your strawberries aren’t as sweet as you’d like, don’t worry; we’ll address that with a touch of sugar.
Step 1: Hulling and Washing the Berries
Begin extract by gently hulling your strawberries. This means removing the leafy green tops. You can do this with a small paring knife, carefully cutting around the stem. Once hulled, give the strawberries a good rinse under cool, running water. You want to remove any dirt or debris without bruising the delicate fruit. After washing, pat them dry with a clean kitchen towel or paper towels. Excess water can dilute the flavor, so this drying step is quite important for achieving that intense berry taste.
Step 2: Sweetening and Flavor Infusion
Now, it’s time to introduce the sweetness and a hint of brightness. Place your hulled and dried strawberries into a medium-sized bowl. Sprinkle them generously with granulated sugar. The amount of sugar will depend on the sweetness of your strawberries and your personal preference. I usually start with about 1/4 cup of sugar for every 2 cups of strawberries and then taste and adjust. Next, add a squeeze of fresh lemon juice. Lemon juice doesn’t just add tartness; it also helps to enhance the natural sweetness of the strawberries and brightens their overall flavor profile. Gently toss the strawberries with the sugar and lemon juice until they are evenly coated. Let this mixture sit for about 15-20 minutes. You’ll notice that the sugar starts to draw out the juices from the strawberries, creating a beautiful, syrupy base. This resting period is crucial for allowing the flavors to meld together.
Step 3: Blending into a Silky Smooth Puree
Once the strawberries have had a chance to macerate, it’s time to transform them into a luscious puree. You can use a blender or a food processor for this. Add the strawberry mixture, including all the lovely juices that have accumulated in the bowl, to your blender or food processor. Blend until you achieve a completely smooth and velvety consistency. You want to make sure there are no remaining chunks of strawberry. If you prefer an even smoother texture, you can strain the puree through a fine-mesh sieve to remove any tiny seeds, though I personally don’t find this step necessary for my shuffles.
Step 4: Chilling and Setting the Shuffles
This is where the magic truly happens. Pour the strawberry puree into a shallow freezer-safe container. If you’re using optional fresh mint leaves, you can finely chop them and stir them into the puree at this stage for an extra layer of refreshing flavor. Cover the container tightly. Now, it’s time for the freezer. Place the container in the freezer for at least 2-3 hours, or until the puree is partially frozen and has a slushy-like consistency.
Step 5: The “Shuffling” Technique for Perfect Texture
This step is what gives our shuffles their unique texture. Once the puree is partially frozen, remove it from the freezer. Using a fork, vigorously scrape and break up the ice crystals, essentially “shuffling” the mixture. Return it to the freezer. Repeat this shuffling process every 30-45 minutes for about 2-3 hours. Each time you shuffle, you’ll be breaking down the ice crystals, which prevents the shuffles from becoming rock-hard and results in a lighter, more scoopable texture, similar to a sorbet but with an ethereal quality. The more you shuffle, the smoother and more delightful the final texture will be. The goal is to achieve a consistency that is scoopable but not frozen solid.
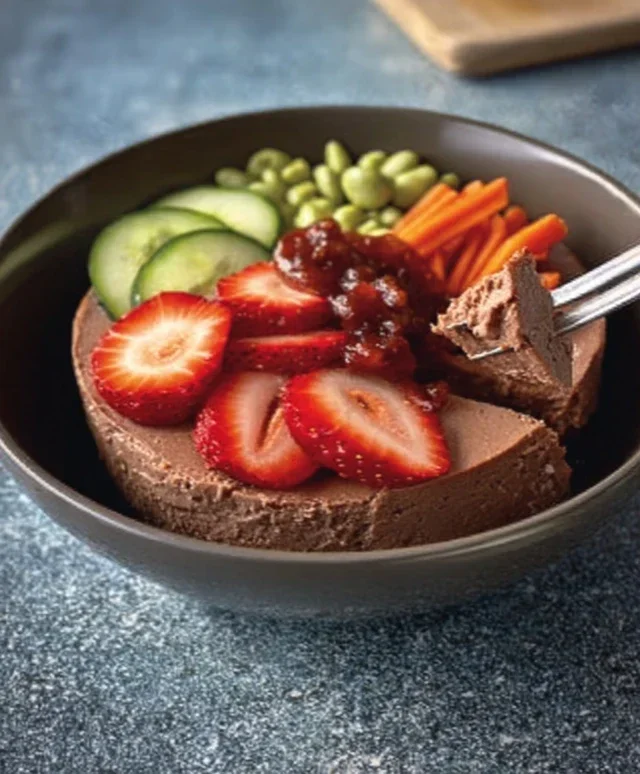
Step 6: Serving Your Delicious Shuffles
Once your strawberry shuffles have reached the desired consistency, they are ready to be enjoyed! Scoop them into chilled bowls or glasses. For an extra touch of indulgence, I love to top them with a dollop of fresh whipped cream or a scoop of creamy vanilla ice cream. A few fresh mint leaves as a garnish add a beautiful pop of color and aroma. Serve immediately and savor the pure, unadulterated taste of summer. These shuffles are best enjoyed fresh, so don’t let them sit in the freezer for too long once they’ve reached their perfect state. Enjoy every spoonful of this delightful creation!
Conclusion:
Well, there you have it! We’ve journeyed through the delightful world of itsxSil’s Shuffles ♡, and I truly hope you’re as excited to make them as I am to share them. This recipe is an absolute winner because it offers that perfect balance of sweet, chewy, and satisfying textures, making it an irresistible treat for any occasion. Whether you’re looking for a quick afternoon pick-me-up, a crowd-pleasing dessert for a gathering, or simply a way to brighten your day, these shuffles are sure to hit the spot.
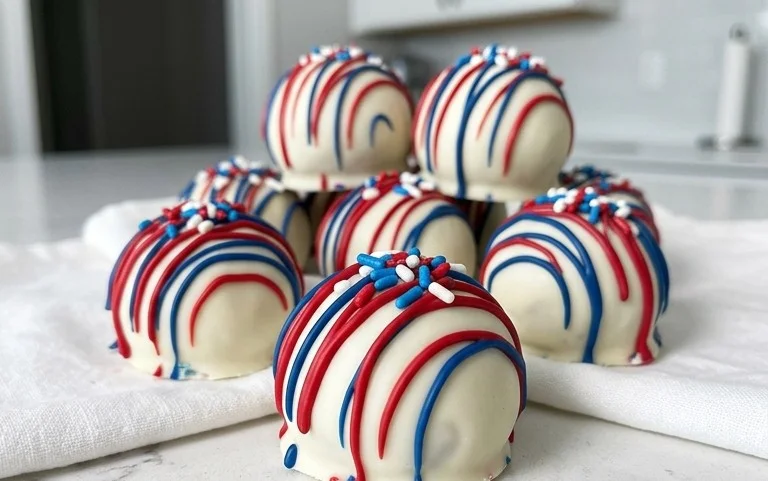
Don’t be afraid to get creative with your additions! Consider incorporating white chocolate chips for a creamier sweetness, or perhaps some chopped nuts like pecans or walnuts for an extra crunch. For a festive twist, a sprinkle of colorful M&Ms or a swirl of melted caramel could elevate these shuffles to a whole new level. The possibilities are truly endless, and that’s part of what makes this recipe so special. I wholeheartedly encourage you to give itsxSil’s Shuffles ♡ a try – I guarantee you won’t be disappointed!
Frequently Asked Questions:
Can I make this recipe gluten-free?
Absolutely! To make these shuffles gluten-free, you can easily substitute the all-purpose flour with a gluten-free all-purpose baking blend. Ensure the blend contains xanthan gum, or add it separately according to package directions, to help with binding and texture.
How should I store leftover shuffles?
For the best taste and texture, store your itsxSil’s Shuffles ♡ in an airtight container at room temperature for up to 3-4 days. If you live in a very warm climate, you might consider refrigerating them to prevent them from becoming too soft.
itsxSil’s Shuffles ♡
A delightful and easy-to-make dessert perfect for any occasion.
Ingredients
-
1 cup all-purpose flour
-
1/2 teaspoon baking soda
-
1/4 teaspoon salt
-
1/2 cup unsalted butter, softened
-
1/3 cup granulated sugar
-
1/4 cup packed brown sugar
-
1 large egg
-
1 teaspoon vanilla extract
-
1/2 cup semi-sweet chocolate chips
-
1/4 cup chopped walnuts
Instructions
-
Step 1
Preheat oven to 375°F (190°C). Line baking sheets with parchment paper. -
Step 2
In a small bowl, whisk together the flour, baking soda, and salt. -
Step 3
In a large bowl, cream together the softened butter, granulated sugar, and brown sugar until light and fluffy. -
Step 4
Beat in the egg and vanilla extract until well combined. -
Step 5
Gradually add the dry ingredients to the wet ingredients, mixing until just combined. Do not overmix. -
Step 6
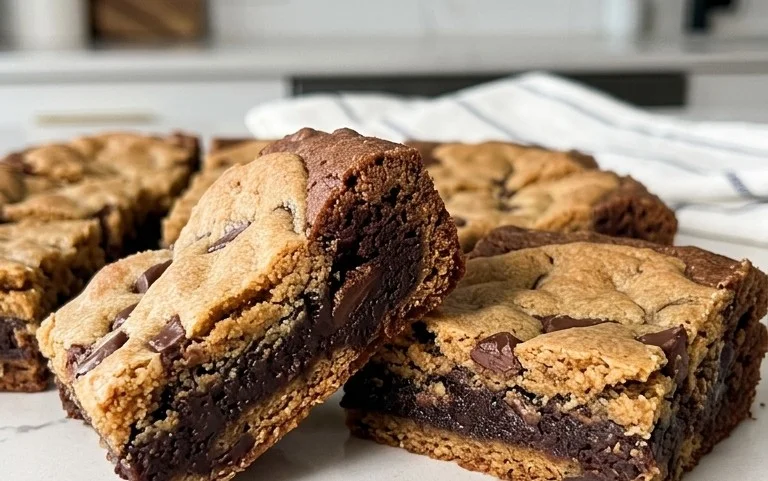
Stir in the chocolate chips and walnuts. -
Step 7
Drop rounded tablespoons of dough onto the prepared baking sheets, about 2 inches apart. -
Step 8
Bake for 9 to 11 minutes, or until the edges are golden brown and the centers are still slightly soft. -
Step 9
Let the cookies cool on the baking sheets for a few minutes before transferring them to a wire rack to cool completely.
Important Information
Nutrition Facts (Per Serving)
It is important to consider this information as approximate and not to use it as definitive health advice.
Allergy Information
Please check ingredients for potential allergens and consult a health professional if in doubt.